


BATH
- Feb 7, 2018
- 2 min read


BEFORE AND AFTER
This bathroom was a complete gut; new drywall, flooring, lighting, tub, toilet, fixtures and vanity. We saved the basic footprint, cute built ins, doors and casings, and that's about it.
VANITY

This little gem was one of my favorite projects. The dresser was a St. Vinny's find, we spent only FORTY BUCKS. We sanded and
refinished the top since it was in rough shape, then we poured resin over it (you can find resin kits from Menards.) Resin was a great option for this because I wanted the look of wood, but obviously wanted it to last. We added a towel hook, white vessel sink and charming faucet.
BUILT-INS AND DOORS
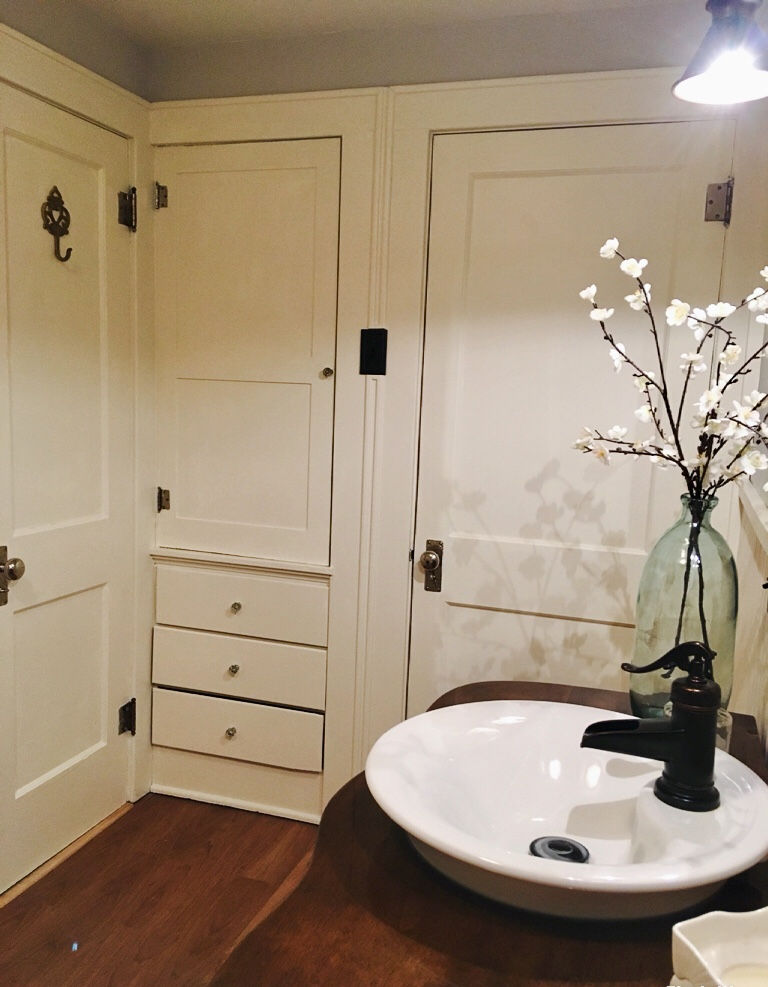
The only thing we were able to save from this room, at least it still had the glass knobs on the drawers. :) Let me just stress a high quality paint when painting trim and cabinetry is EVERYTHING. I have used cheap paint from big box stores and every time I end up repainting because it doesn't look good. I like to use the smaller hardware stores for paint because they typically have a higher quality, this paint is Clark and Kensington Enamel from ACE.
WAINSCOTTING

I thought this bathroom needed a little more charm, since there wasn't much left of the original. So we added wainscotting. It was fairly easy to install. Greatest lesson learned from this project is make sure all your pieces are exactly the same length before you start nailing them up!!! We didn't take into account that the saw blade eats away some of the wood. So if you don't saw on the same side of your mark each time all your pieces will be off by a tiny amount. It's called the Kerf, google it, it's a thing. Luckily you can't notice unless you really stare at it, the top molding hides most of it.
That wraps up the main bath, please comment or ask questions!
Comments