


LIVING ROOM
- Dec 29, 2017
- 3 min read
OUT WITH THE OLD


BEFORE AND AFTER
Let's start with the floors. We rented a couple of sanders from a local McFarlanes and with the help of a few friends and some beer we sanded down these damaged original wood floors, stained and polyurethaned them for very little cost. Obviously, I couldn't rip these beautiful original oaks out.
All the plaster and lath walls and mouse pee- stained ceiling tiles were torn down by my crazy husband and brother in law. (Literally, went hulk on them with a crow bar and their own two hands.) From there new heating/ air conditioning, electrical, drywall and a fresh coat of paint. The crown molding, trim and casings are all original, sanded and refinished by us. (One of the reasons I fell in love with this old farmhouse in the first place.) New can lights and ceiling fan were also added.
FIREPLACE
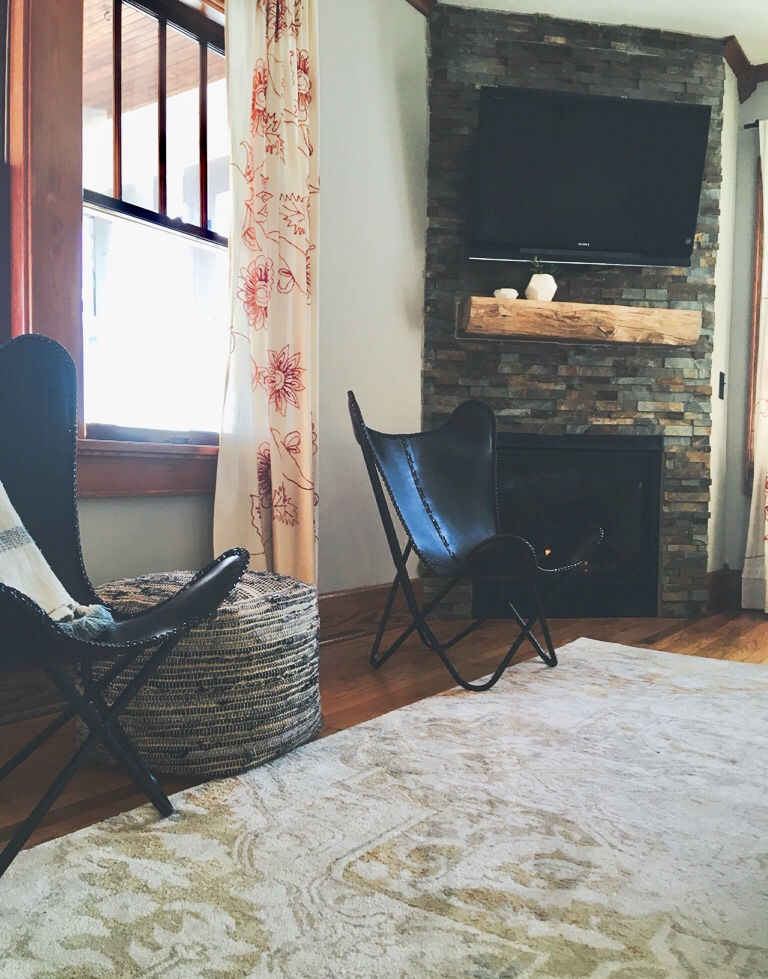
The gas fireplace was added and stone veneer installed. The stone is from Home Depot and was pretty inexpensive compared to other places. I sent my husband on a mission for the rustic wood mantel. I told him to search one of the barns and "come back with something pretty." This is part of a structural beam that had collapsed. We cut a chunk off, gave it a light sanding and applied a thin layer of furniture wax.
Number one tip I can offer from that project is make sure you have the reclaimed wood sprayed by a pest control company! I thought submerging it in soapy water and cleaning it would've taken care of any yuckie insects we couldn't see...WRONG. There were tiny little beetles that lived inside that dropped saw dust like droppings on our floor for almost two years before they died! lol so gross.... Almost impossible to spray and kill them after the mantel was already installed so we just had to wait until they died. Thank god they stayed in the mantel and didn't infest any other places.
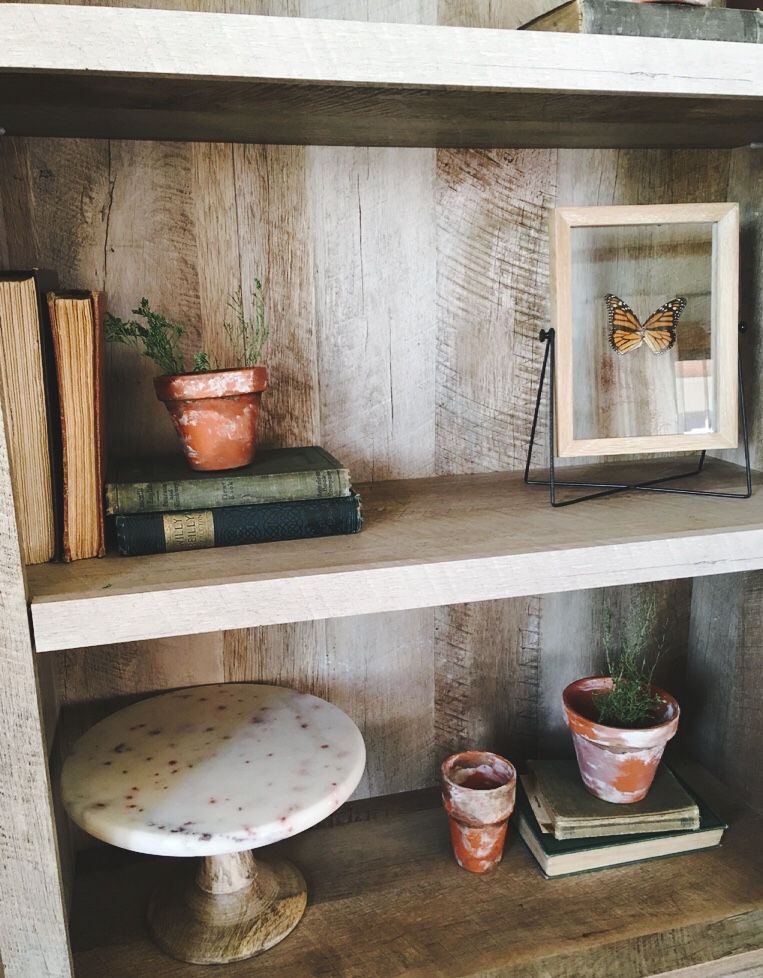
CHOTCHKIES
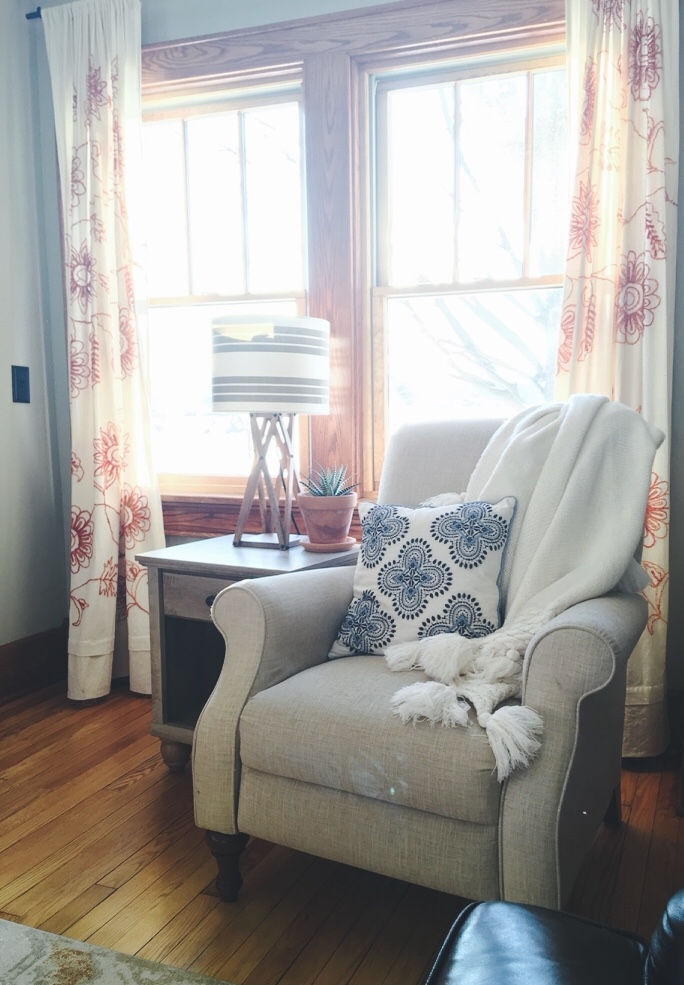
My little DIY chotchkies... Don't waste your money on antique looking clay pots from stores, make your own. You can get cheap terra cotta pots from hardware stores and then I just took some wall putty and stain to rub them in to make them look old. Another thing I like to decorate with are vintage books. You can find plenty of them at St. Vinny's for cheap. If you don't have a lot of money to spend on artwork, make your own wall art! The black and white cow print hanging on the wall was taken by me in Hayward, Wisconsin that I printed off at Walgreens on a canvas. You don't have to spend a lot of money to customize your space.
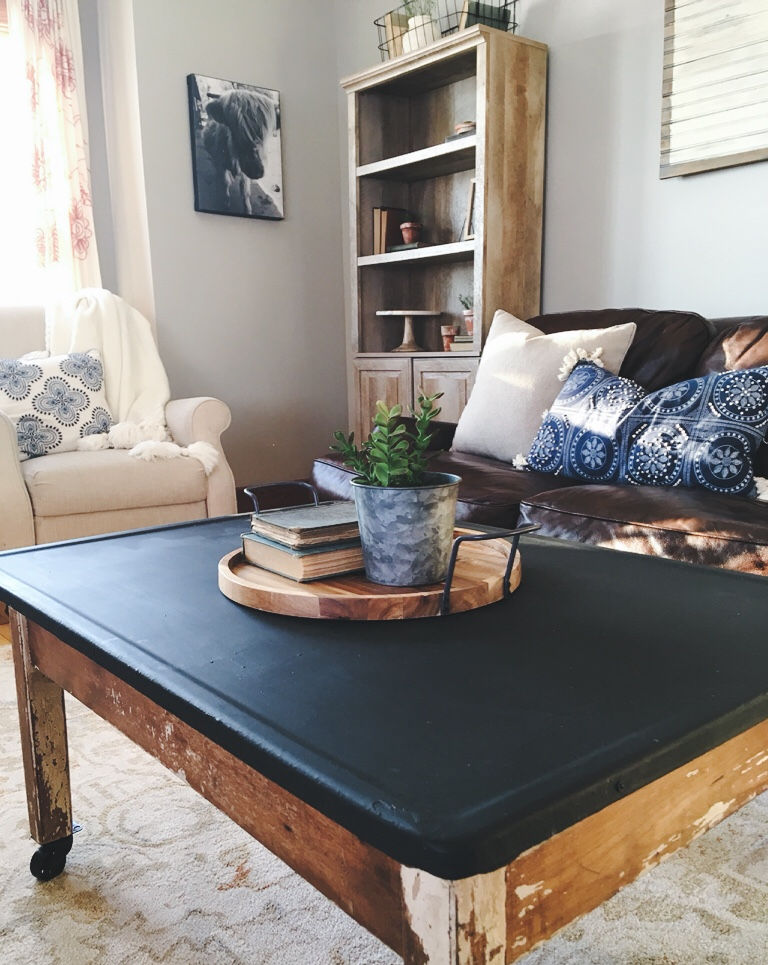
COFFEE TABLE REDO
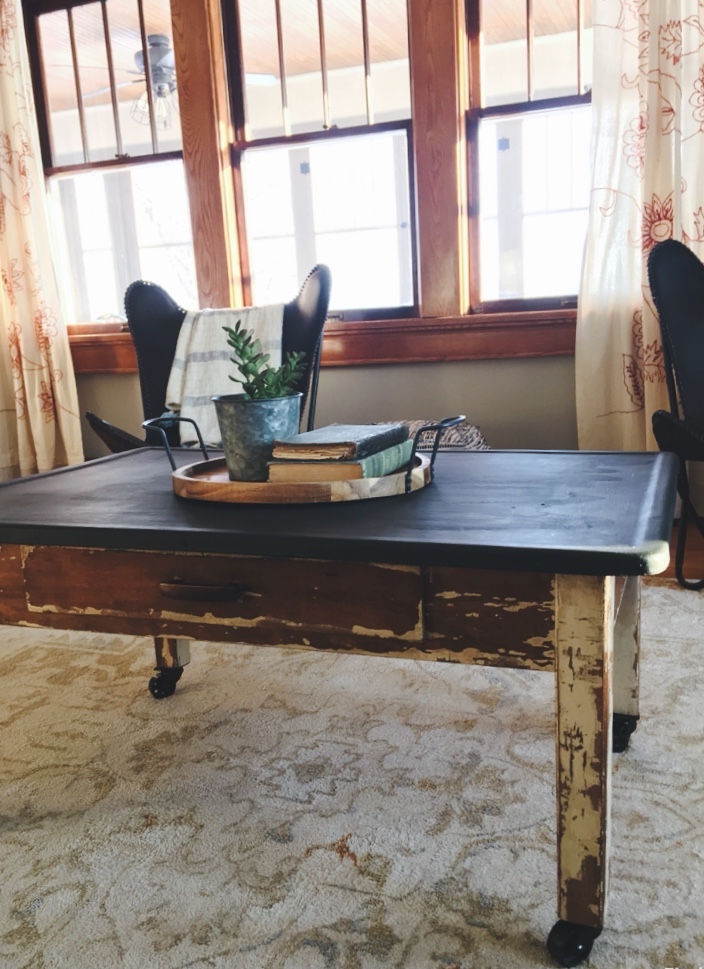
The coffee table I purchased at a garage sale for $25! First:
1. I painted the boring white enamel top black with chalkboard paint because I love the look of matte black. You will see it all over my house. Also, my toddler loves to color on the table top with chalk and when we are done I wipe it right off. PARENTING WIN!
2. I cut the legs down to coffee table height and added metal caster wheels to add character, which I spray painted matte black. 3. The table was pretty well covered in old white paint when I got it, I needed to see more wood so I stripped some of the old paint off with Citristrip stripper. From there; sanded, stained and finished with linseed oil (now my favorite finish for wood furniture!)
DIY BARN DOOR SIGN
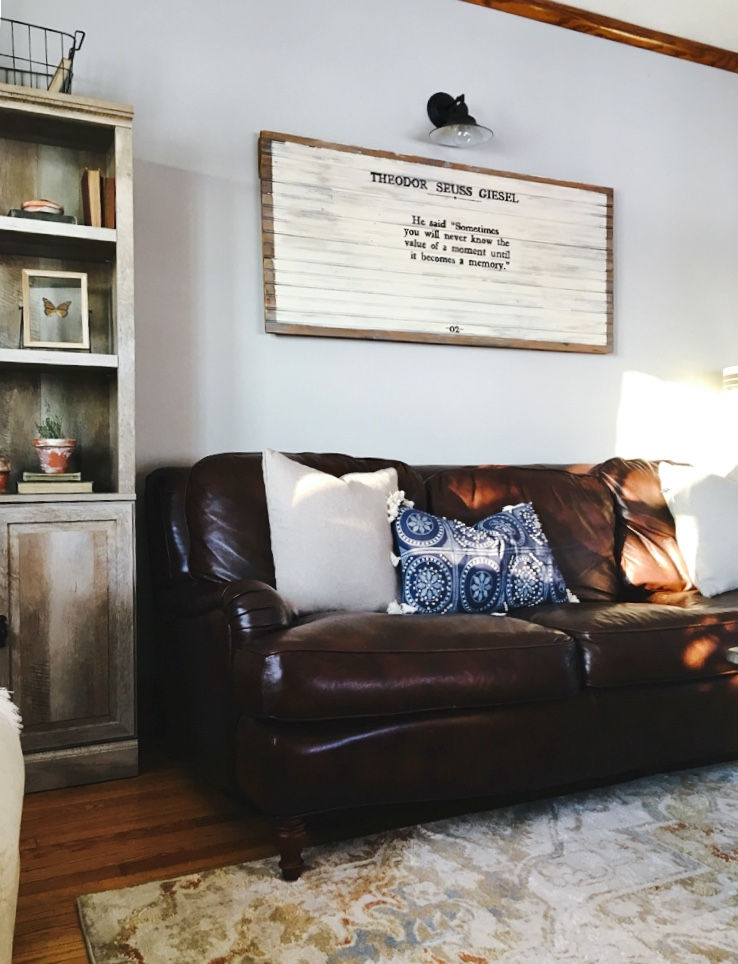
The wooden sign is actually a cellar door from the basement of our previous house. First:
1. I cleaned it up and gave it a light sanding with the power sander.
2. Stained it with a gray stain, taped off the border and painted it white to hide existing paint splotches that I couldn't get out of the crevases. I then sanded a little bit of the white down so it looked distressed.
3. Lastly, the quote I recreated in microsoft word, printed it out, cut out the letters with an exacto knife and painted the letters on with black paint. Yes, it was super tedious and time consuming, but I couldn't find any pre-made stencils that I liked.
That concludes the living room remodel, stay tuned for more rooms and projects!
Comments